Comprehensive Guide to Installing Ceiling Lights: Bulb Replacement and Maintenance Tips
Whether you're renovating a new home or replacing an old fixture, understanding the steps for ceiling light installation and bulb replacement is crucial for ensuring proper and safe operation. Incorrect installation can lead to damage, short circuits, dim or flickering lights, and other issues. In this article, we will guide you through the installation process and share expert tips on how to replace ceiling light bulbs, allowing you to easily maintain your lighting fixtures and keep your home illuminated at its best!
Tools Needed for Ceiling Light Installation
1. Flathead Screwdriver
Used to open the ceiling light’s clips for easier bulb replacement or installation.
2. Electric Screwdriver
Helps securely install the ceiling light bracket onto the ceiling quickly and firmly.
3. Pliers
Used to hold, bend, or cut wires during the installation process.
4. Phillips Screwdriver
Required to unscrew the central column nut for removing and replacing the light fixture.
3 Types of Ceiling Light Installation
Using DANCELiGHT products as examples, here are three types of ceiling light installations. We will explain the installation methods for different models to help you enhance your home lighting.

1.Cloud Ceiling Light Installation
The Cloud Ceiling Light features a slim design that minimizes its thickness, leaving more open space in the room. With a simple white exterior and matte finish, this ceiling light has a clean and minimalistic look. Its zero-shadow design and side-emitting lighting expand the lighting angle. The one-piece structure prevents insects from entering, and the quick-connect terminal makes installation easier.
Cloud Ceiling Light Installation Steps
Step 1.Secure the baseplate to the ceiling.

Step 2.Insert the power wires into the quick-connect terminal.

Step 3.Twist the fixture clockwise to lock it into the baseplate.

2.Thin Ceiling Light Installation
With an ultra-slim thickness of just 3.5 cm, the Thin Ceiling Light provides uniform illumination without dark spots, making it ideal for spaces with low ceilings. The quick-connect design simplifies installation, while the unique fixing clips ensure stability for effortless installation.
Thin Ceiling Light Installation Steps
Step 1.Use an electric screwdriver to secure the bracket to the ceiling.

Step 2.Insert the wires into the quick-connect terminal, making sure not to place both wires in the same hole.

Step 3.Snap the fixing clips into place to secure the fixture.

3. Star Diamond Wall-Dimmer Ceiling Light Installation
This ceiling light offers four dimming modes: 100%, 50%, 25%, and night light. The quick-connect design and matching male/female connectors make installation safe and convenient.

Star Diamond Ceiling Light Installation Steps
Step 1.After removing the old fixture, use pliers to strip the wires. Insert the wires into the quick-connect terminal (L/N). Secure the mounting base to the ceiling with an electric screwdriver.

Step 2.Snap the light fixture into the mounting base and connect the orange male/female plugs.

Step 3.Rotate the light cover clockwise to lock it into place.

Replace Bulbs in Traditional Ceiling Lights
Common causes of bulb failure include filament breakage, short circuits, poor contact, or socket damage. Follow these 4 steps to replace a traditional ceiling light bulb safely
Step 1.Turn off the power: Ensure the power is off to prevent electric shock.

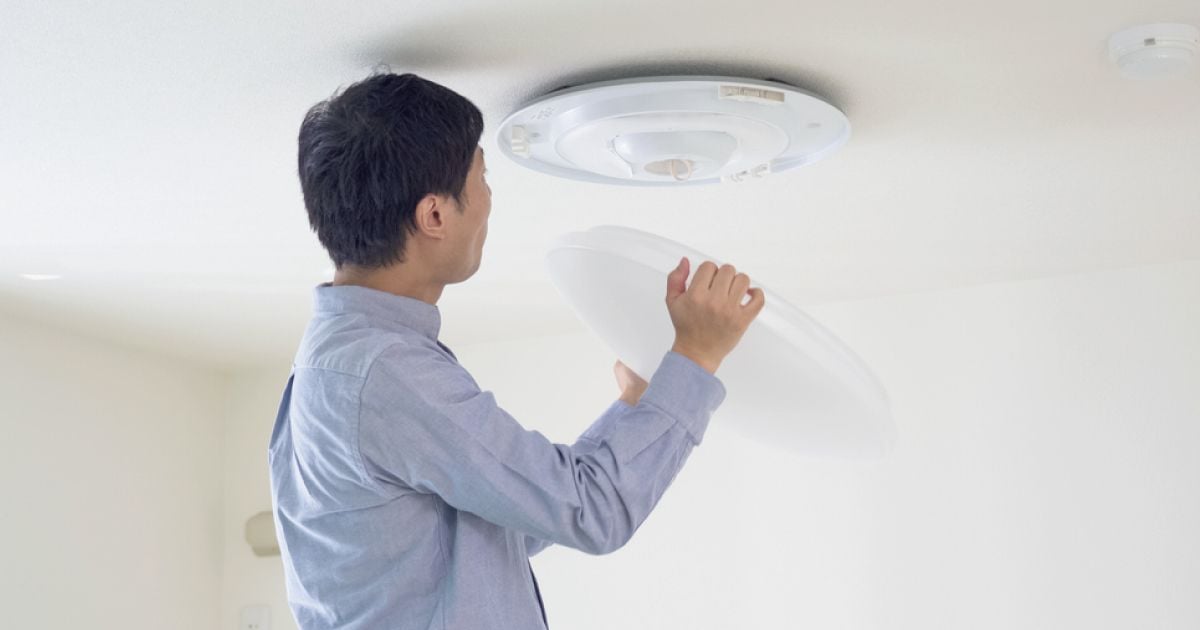
Step 2.Remove the light cover: Gently remove or rotate the light cover to access the bulb.

Step 3.Remove the bulb: Unscrew the faulty bulb counterclockwise, being careful not to break it.

Step 4.Check and install a new bulb: Make sure the new bulb matches the old one’s specifications, then screw it in clockwise until secure. Reattach the light cover: If you removed the cover earlier, replace it carefully.

Post-Installation Maintenance for Ceiling Lights
Maintaining ceiling lights is simple but requires regular cleaning to preserve brightness. After switching off the power, use a cloth to wipe the outer cover and baseplate. Unlike traditional decorative ceiling lights, LED ceiling lights don’t require individual bulb cleaning, making them a more practical choice.
Do DANCELiGHT ceiling lights come with a warranty?
Most integrated LED ceiling lights cannot have individual light sources replaced, so any malfunction may require warranty services. DANCELiGHT offers a two-year warranty on all indoor LED products, providing comprehensive service during the warranty period. Even after the warranty expires, DANCELiGHT’s professional after-sales team is ready to assist with any repair needs.
Frequently Asked Questions (Q&A) for Ceiling Light Installation and Bulb Replacement
Q1.When should I consider replacing the entire ceiling light?
If your ceiling light is old and showing signs of dimming, aging, bulb failure, or casing damage, it may be time for a new fixture. You can also upgrade to LED ceiling lights for better lighting effects and features.
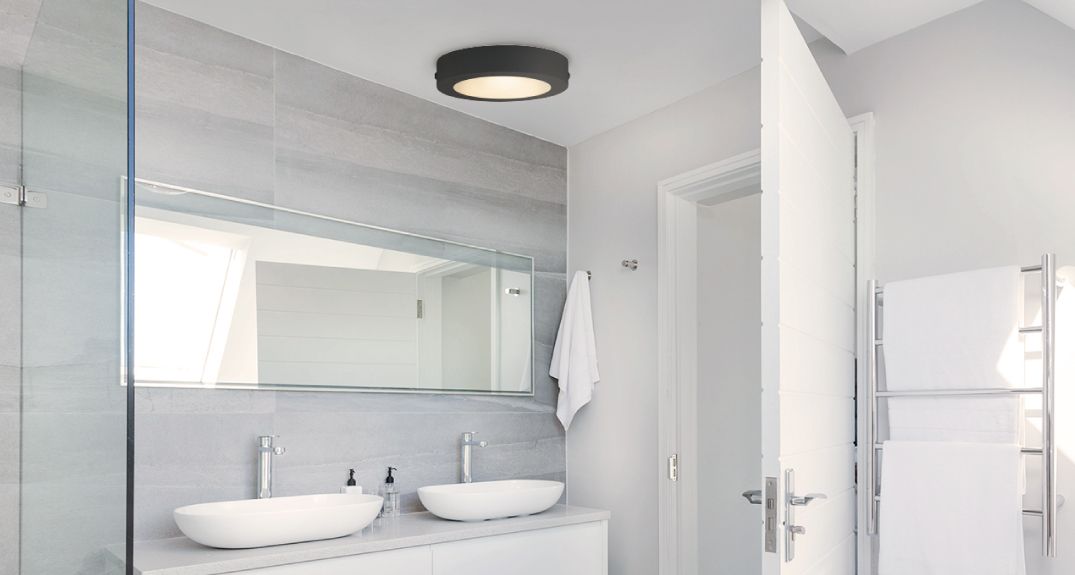
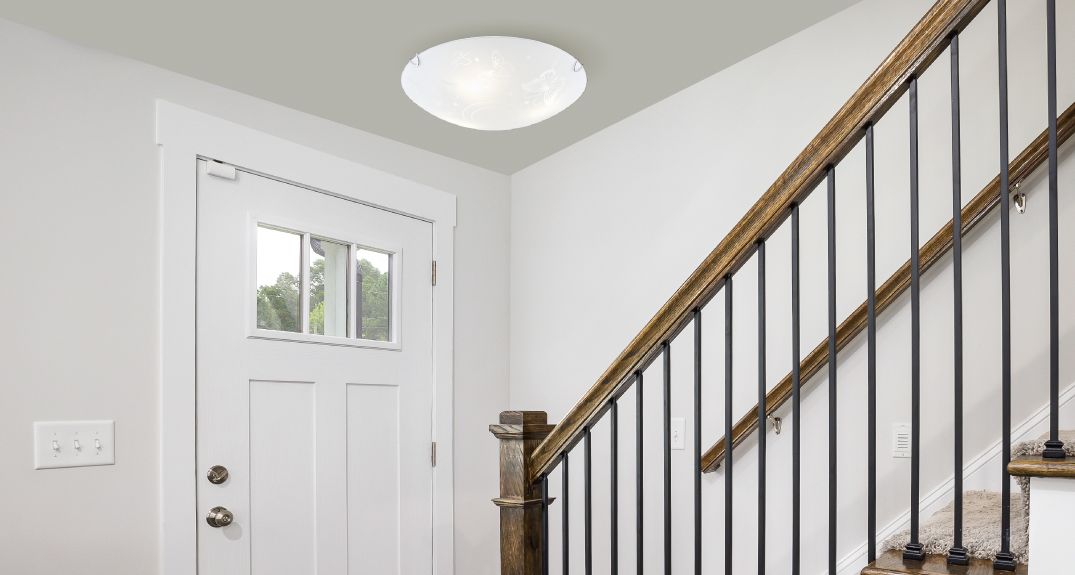
Q2.How do I determine the correct installation position and height for a ceiling light?
The installation position should be based on the room layout and lighting needs. Placing the light in the center of the room typically ensures more even illumination. For spaces with low ceilings, fully embedded ceiling lights are ideal.
Q3.Why is the light dim or flickering after changing the bulb?
If the light dims or flickers after bulb replacement, it may be due to improper installation, loose connections, or power issues. Ensure the bulb is properly seated and that there are no loose connections. Check the power supply for stability.
Q4.What if I can’t install the ceiling light myself?
If you need professional help after reviewing the installation steps, consider choosing a brand that offers installation services. DANCELiGHT provides professional installation services at various locations throughout Taiwan.
Conclusion
DANCELiGHT ceiling lights are certified to meet CNS standards, and remote-controlled models are NCC-certified. They offer long-lasting illumination, affordable pricing, and easy installation. The ultra-thin ceiling light, at just 3.5 cm thick, features a unique clip design for a smoother installation process. With over 3,500 dealers across Taiwan, DANCELiGHT offers one-stop solutions for purchasing and installing ceiling lights.